
Services
On service page you can view certain information related to services. Information like service name, type of services, law of services and old projects. You can also create new services by giving certain information. Services can be edited and deleted if needed. you can provide several shared files, project files, project reports, custom fileds and due dates if any.

step 1: On the service page click on the NEW SERVICE button. you will be redirected to a popup where you can add new service by filling several fields.
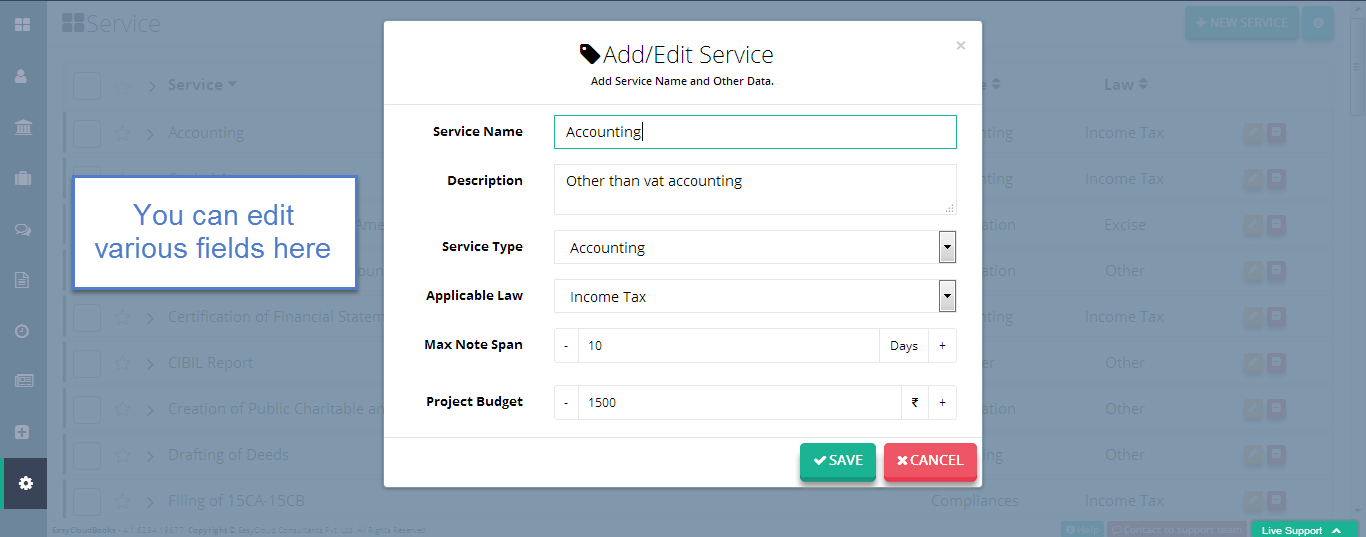
step 2: After clicking on the NEW SERVICE button, here you will find a popup where you have to fill some fields. After filling the fields, click SAVE button, which will create a new service for you.
Projects get automatically created as per scheduler attached on service and appears on Lead status. We got request from some clients that they need buffer for projects getting created automatically. Therefore we are introducing service scheduler. Which will work if you turn off Auto Create Service Scheduler Projects on project settings at setting page. Otherwise by default project will get automatically created and appear on project list page under lead status.
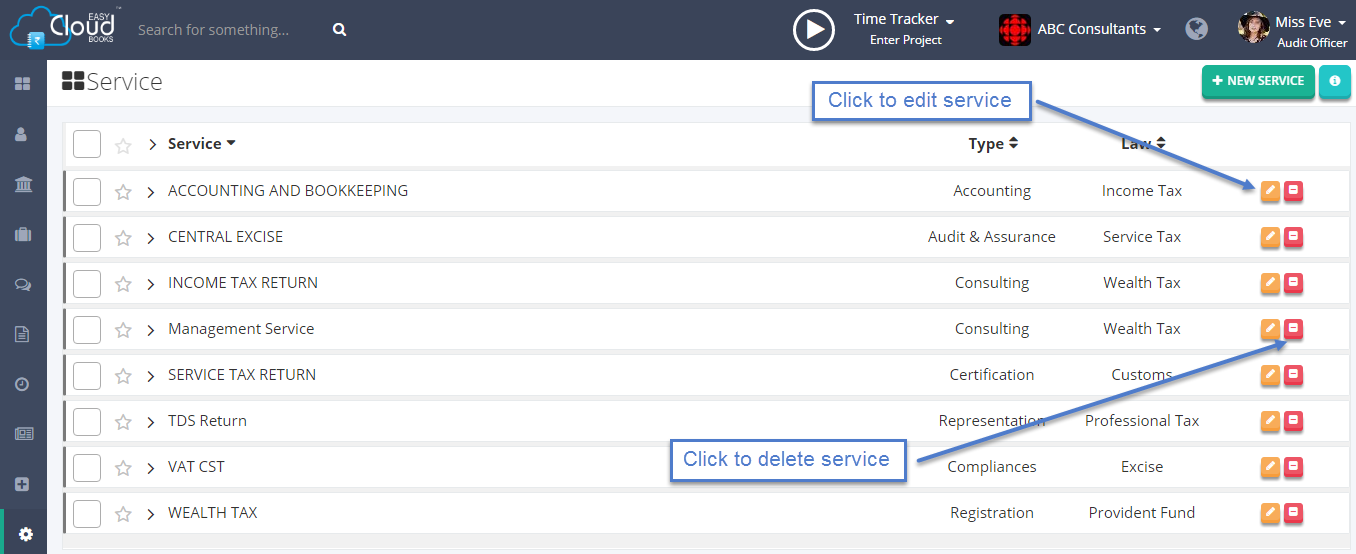
To edit the services user has been provided with Orange button as seen in picture. To delete the current services user has been provided with Red button as seen in picture.
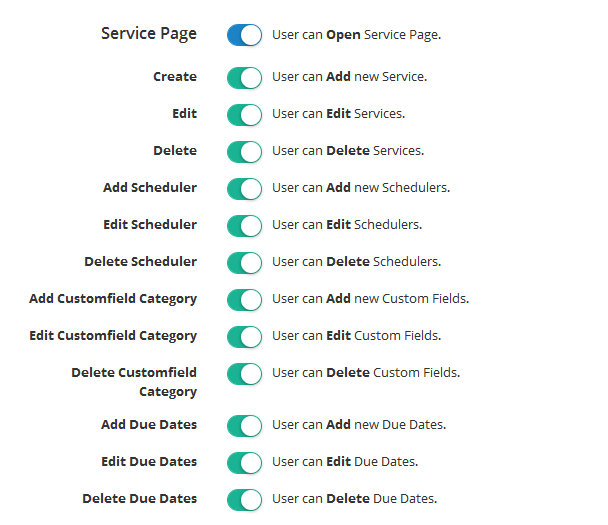
Super owner can give customised rights of managing services to other users.
He can customise setting rights of Create, Edit, Delete on shared files, project files, reports files, custom fields and due dates.
Owner can reduce burden of managing and updating services by delegating these rights to other users.
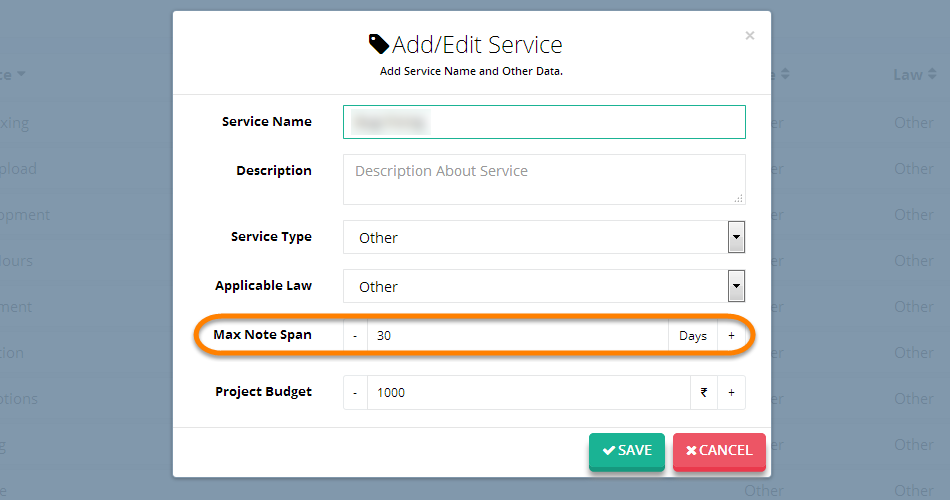
User can set next note date limit for projects in services module during create new service or edit existing service and change Max Note Span in days, its minimum value is 7 days.

User can set default project budget in services module during create new service or edit existing service and change project budget.
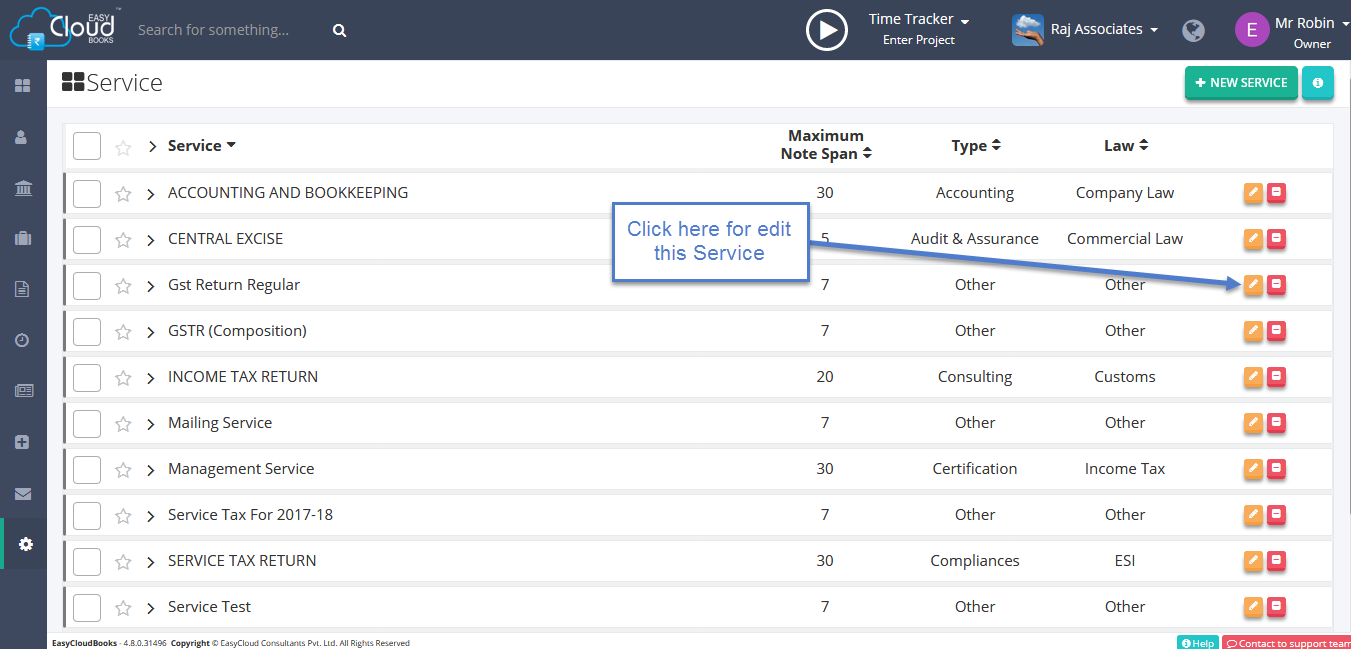
step 1: For link Income Account to any Service go to Service page and click on service edit button.
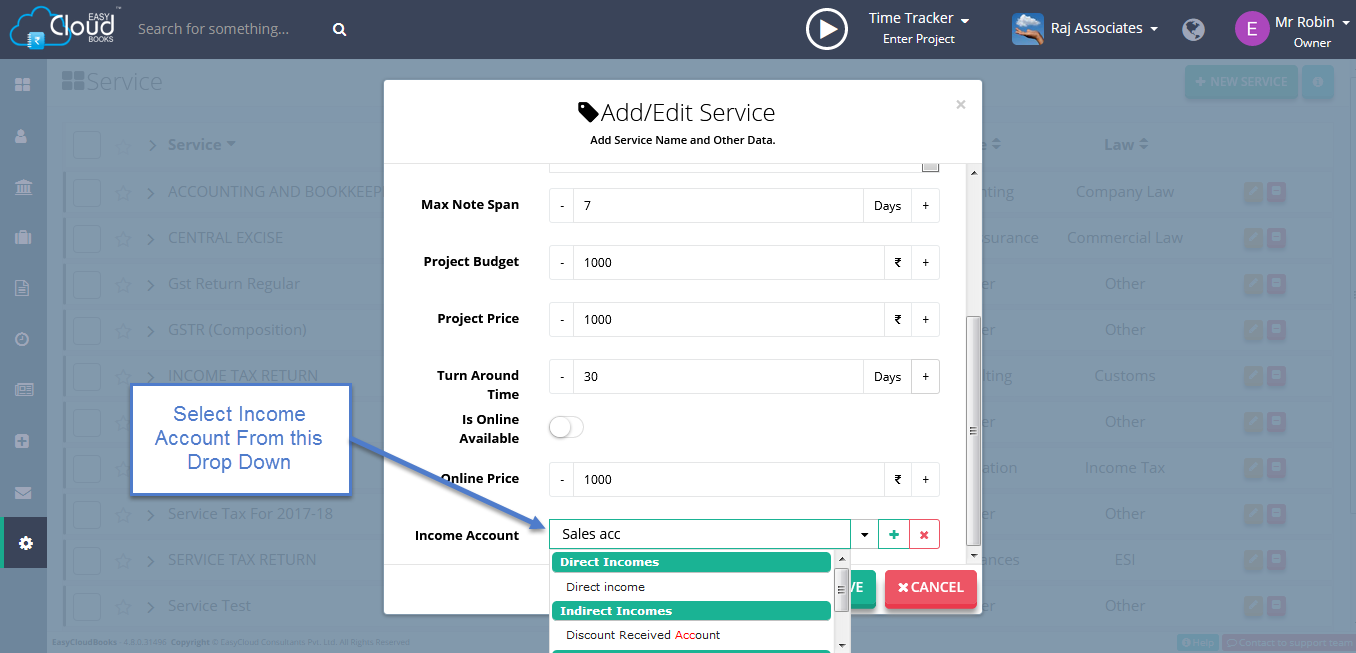
step 2: Here at the bottom Income Account field is available, select appropriate Income Account from the dropdown list and save it. This will reflect in creation of Sales Voucher, this income account automatically link with related project of this service.